
Your First Pottery Throwing Lesson
What to Expect at My Bishopstoke Studio
Are you feeling nervous or excited by the prospect of working with clay? It may be that you’ve never worked with clay, or ever felt the soft, smooth tactile nature of the material. It maybe you had a go at school and it never went any further. Either way, you are going to enjoy this experience, trust me!
Arriving at My Bishopstoke Pottery Studio
When you arrive, we will ‘robe up’ (I’ve recently done jury service, so I have alternative lingo in my head at the moment). Aprons are important as you will get in a mess. Ideally you will have short nails, learning to throw isn’t immediately easy, and if you have long nails it makes it that much more challenging.
A short health and safety briefing takes place before I introduce you to the clay we will be using on the day. It varies depending on my stock levels. Mostly it will be Red Terracotta, other times a Stoneware.
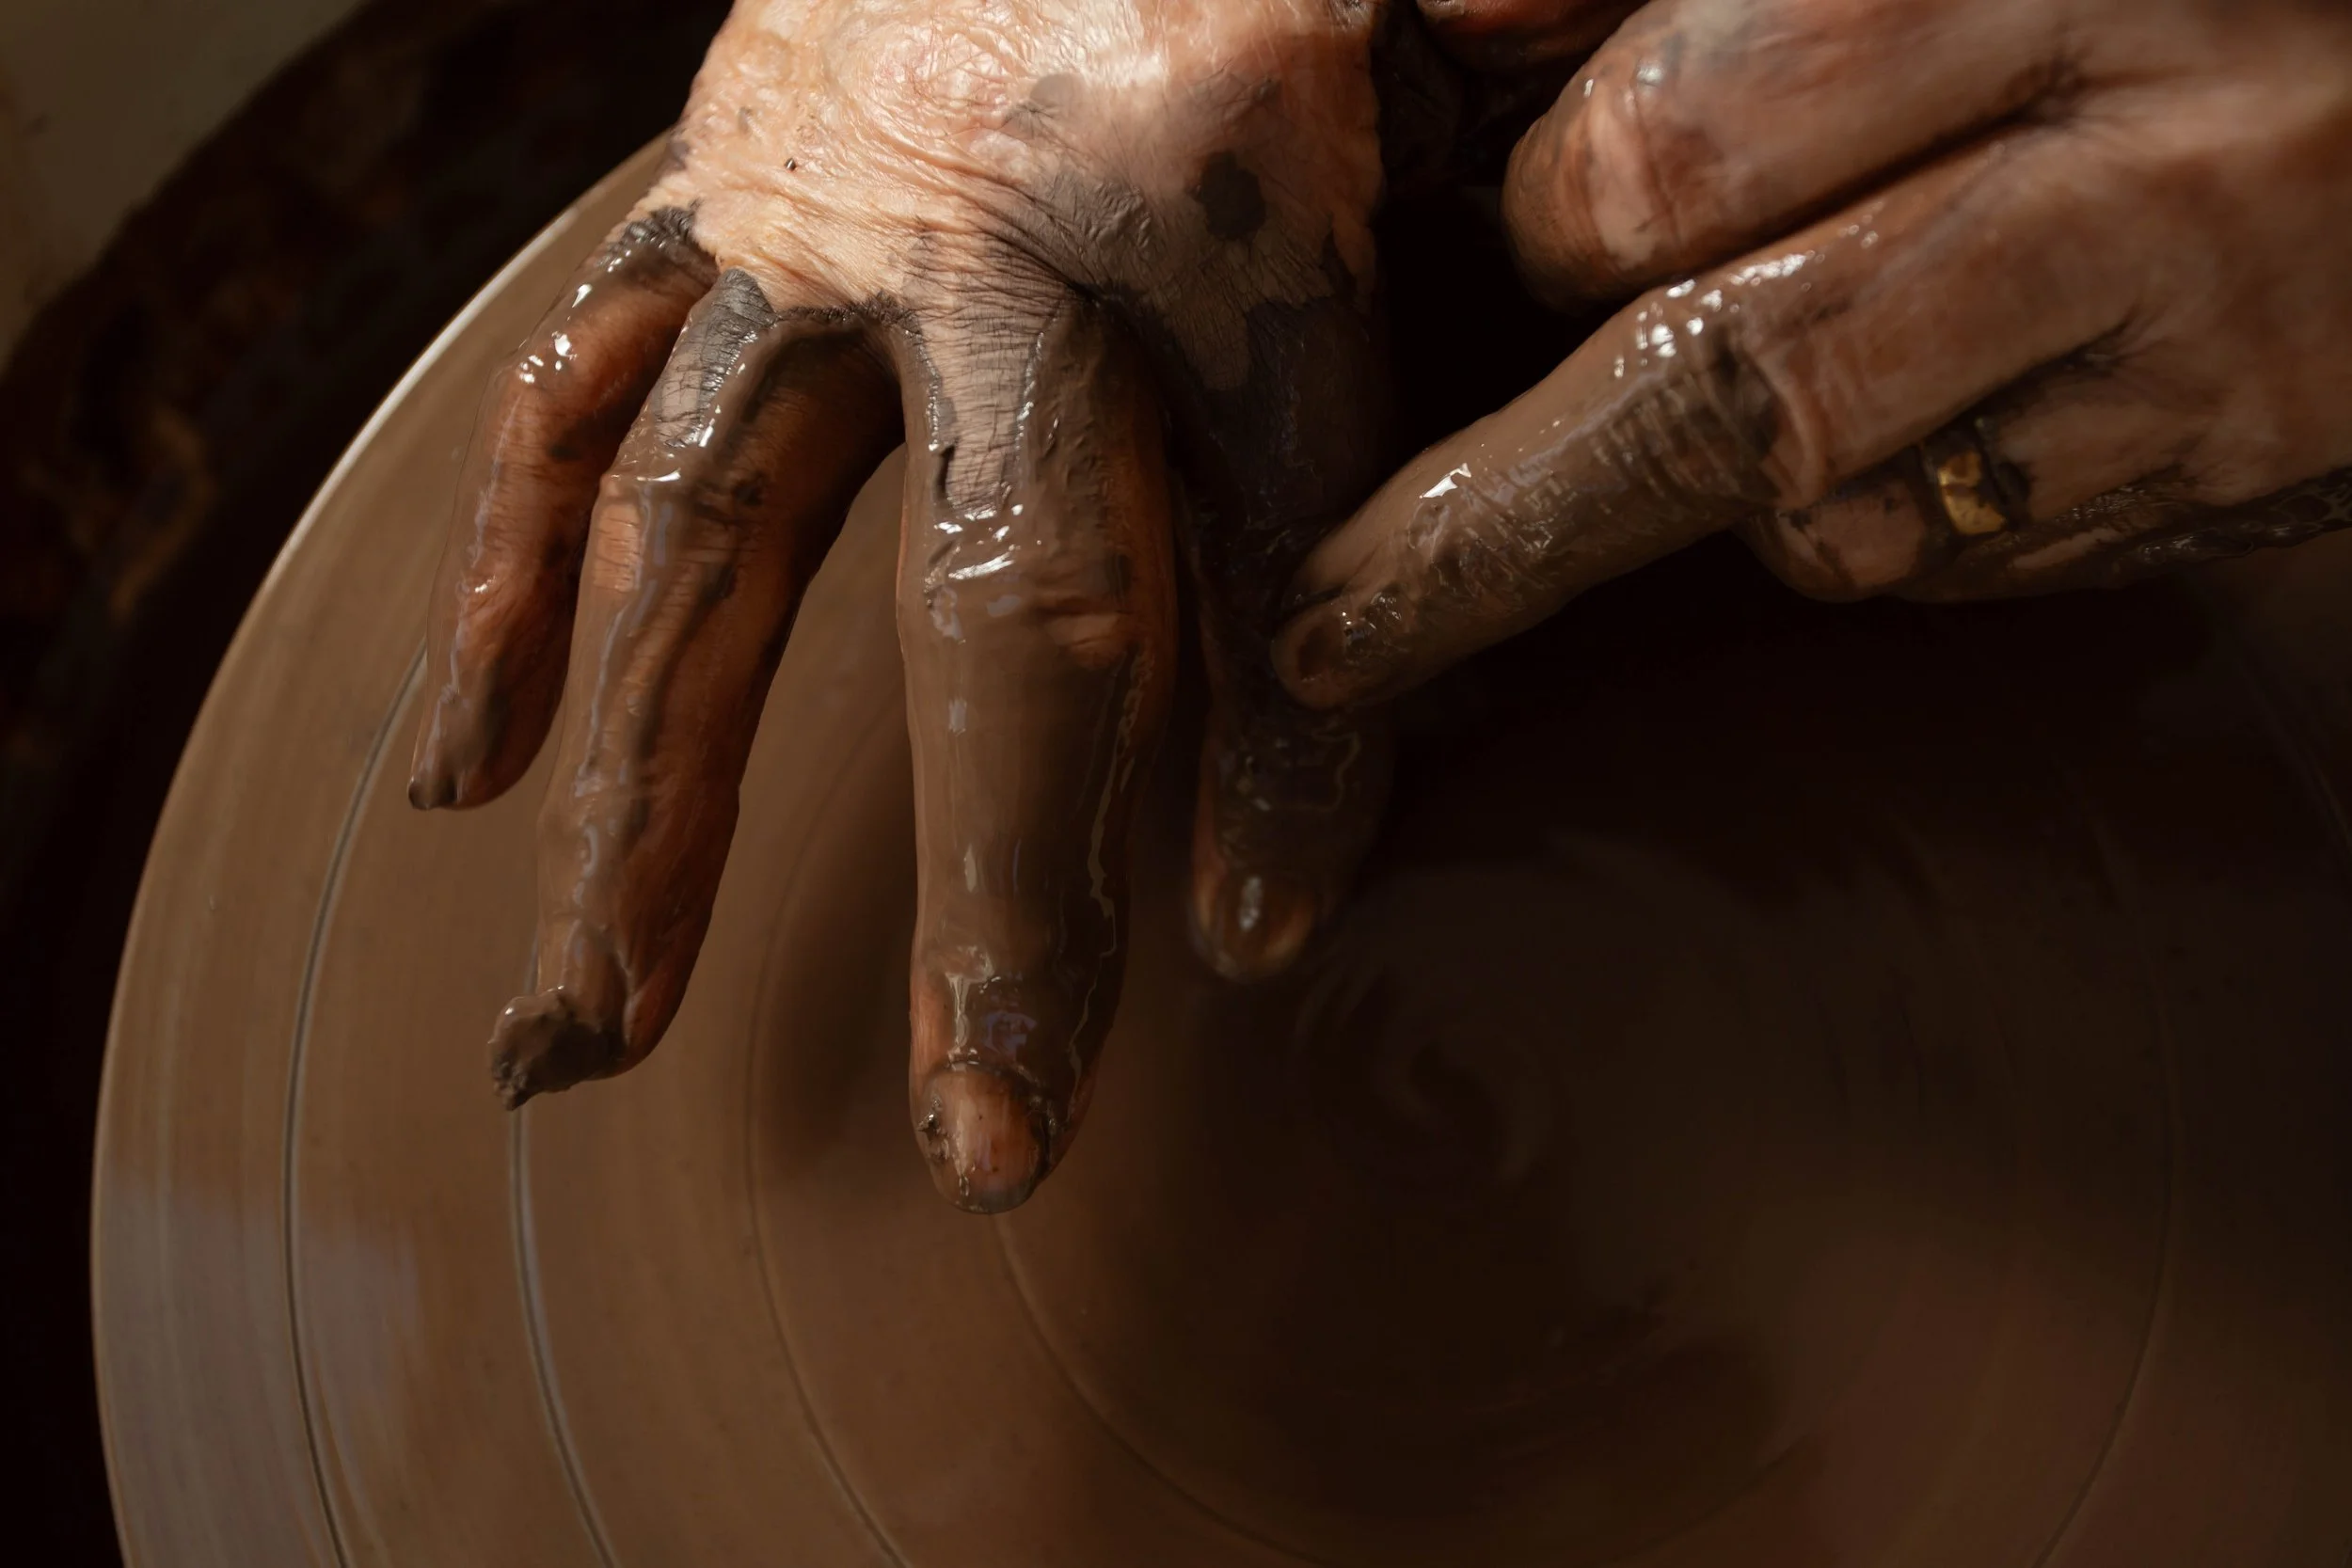
Forming the shape on the potters wheel
Getting to Know the Clay
Terracotta is the red clay that bricks and plant pots are made from. Generally it isn’t frostproof, but with a high firing to over 1200 degrees centigrade it becomes frost resistant. It’s about the porosity of the clay and whether the clay absorbs water. At 1200 the clay becomes vitrified which means it doesn’t absorb water and reducing the risk of cracking.
Alternatively it may be Stoneware, which comes in a range of earthy tones, sometimes with speckles. Frost resistant by nature of the firing required.
The actual session begins with an introduction to the clay. I will begin the wedging process which prepares the clay for throwing on the wheel, whilst talking you through the process.
Learning to Throw on the Pottery Wheel
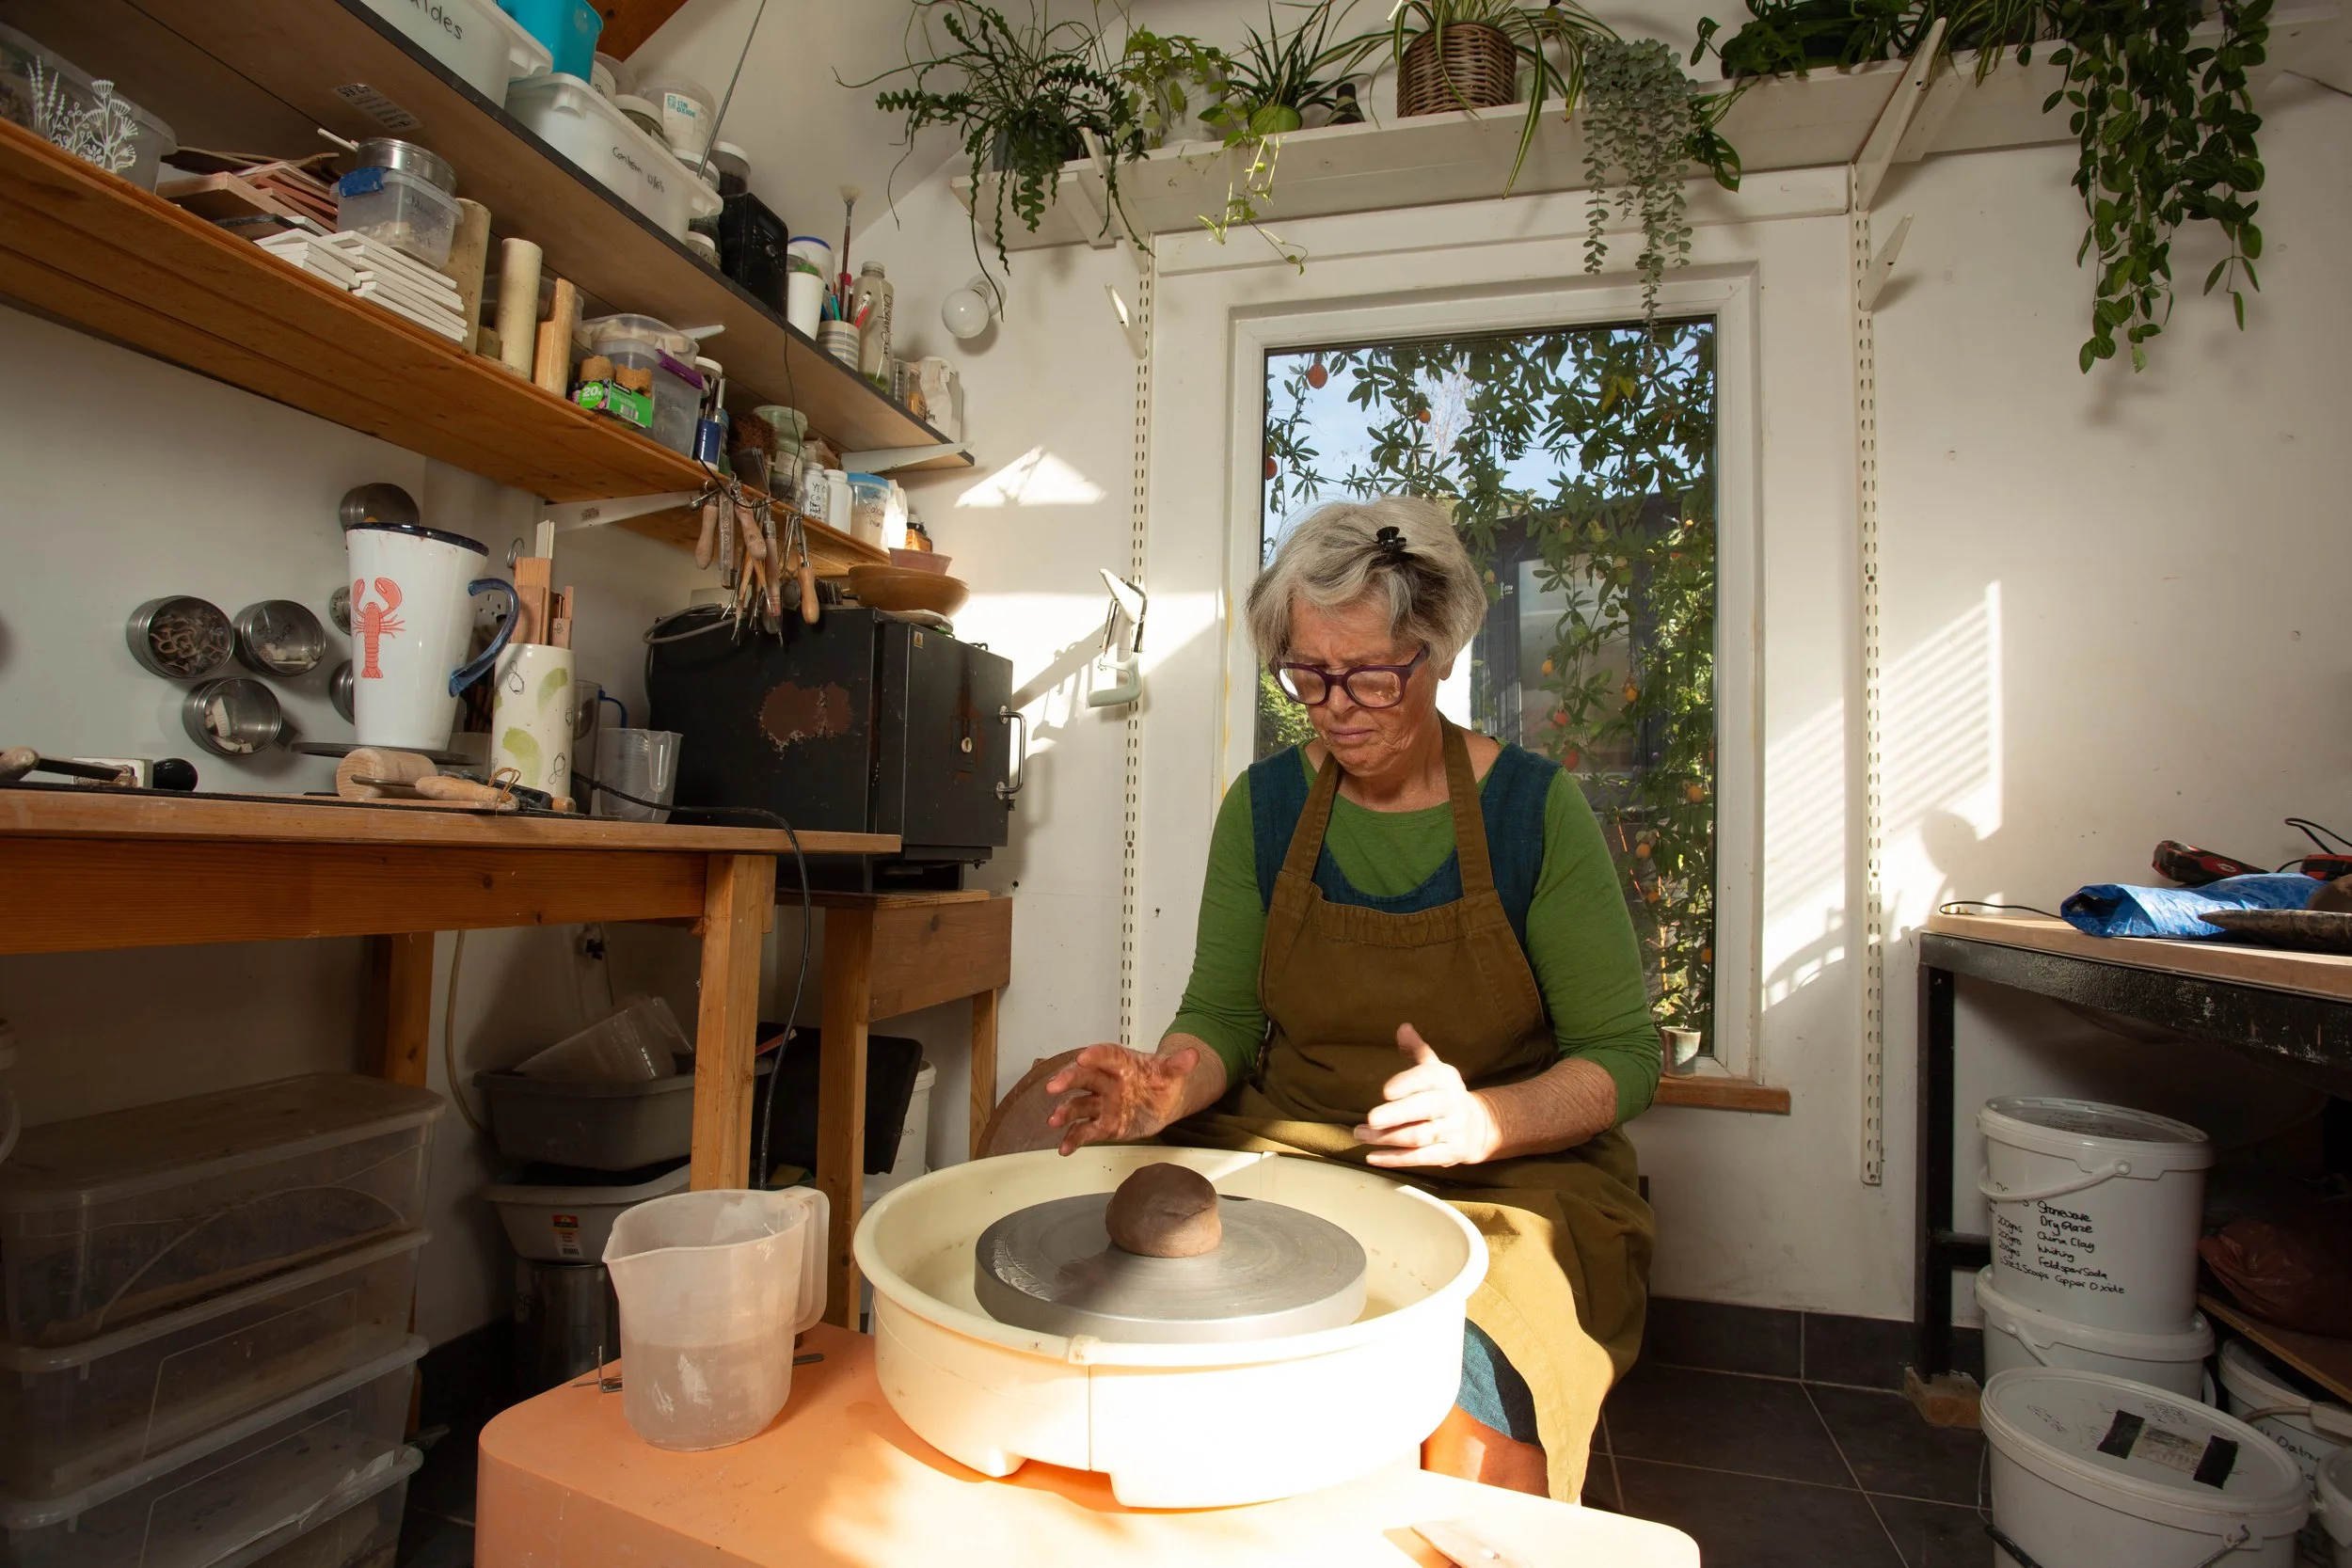
Next we will cut your clay ready for throwing, usually three pieces each. You will then pat each piece of clay into a ball shape in your hands.
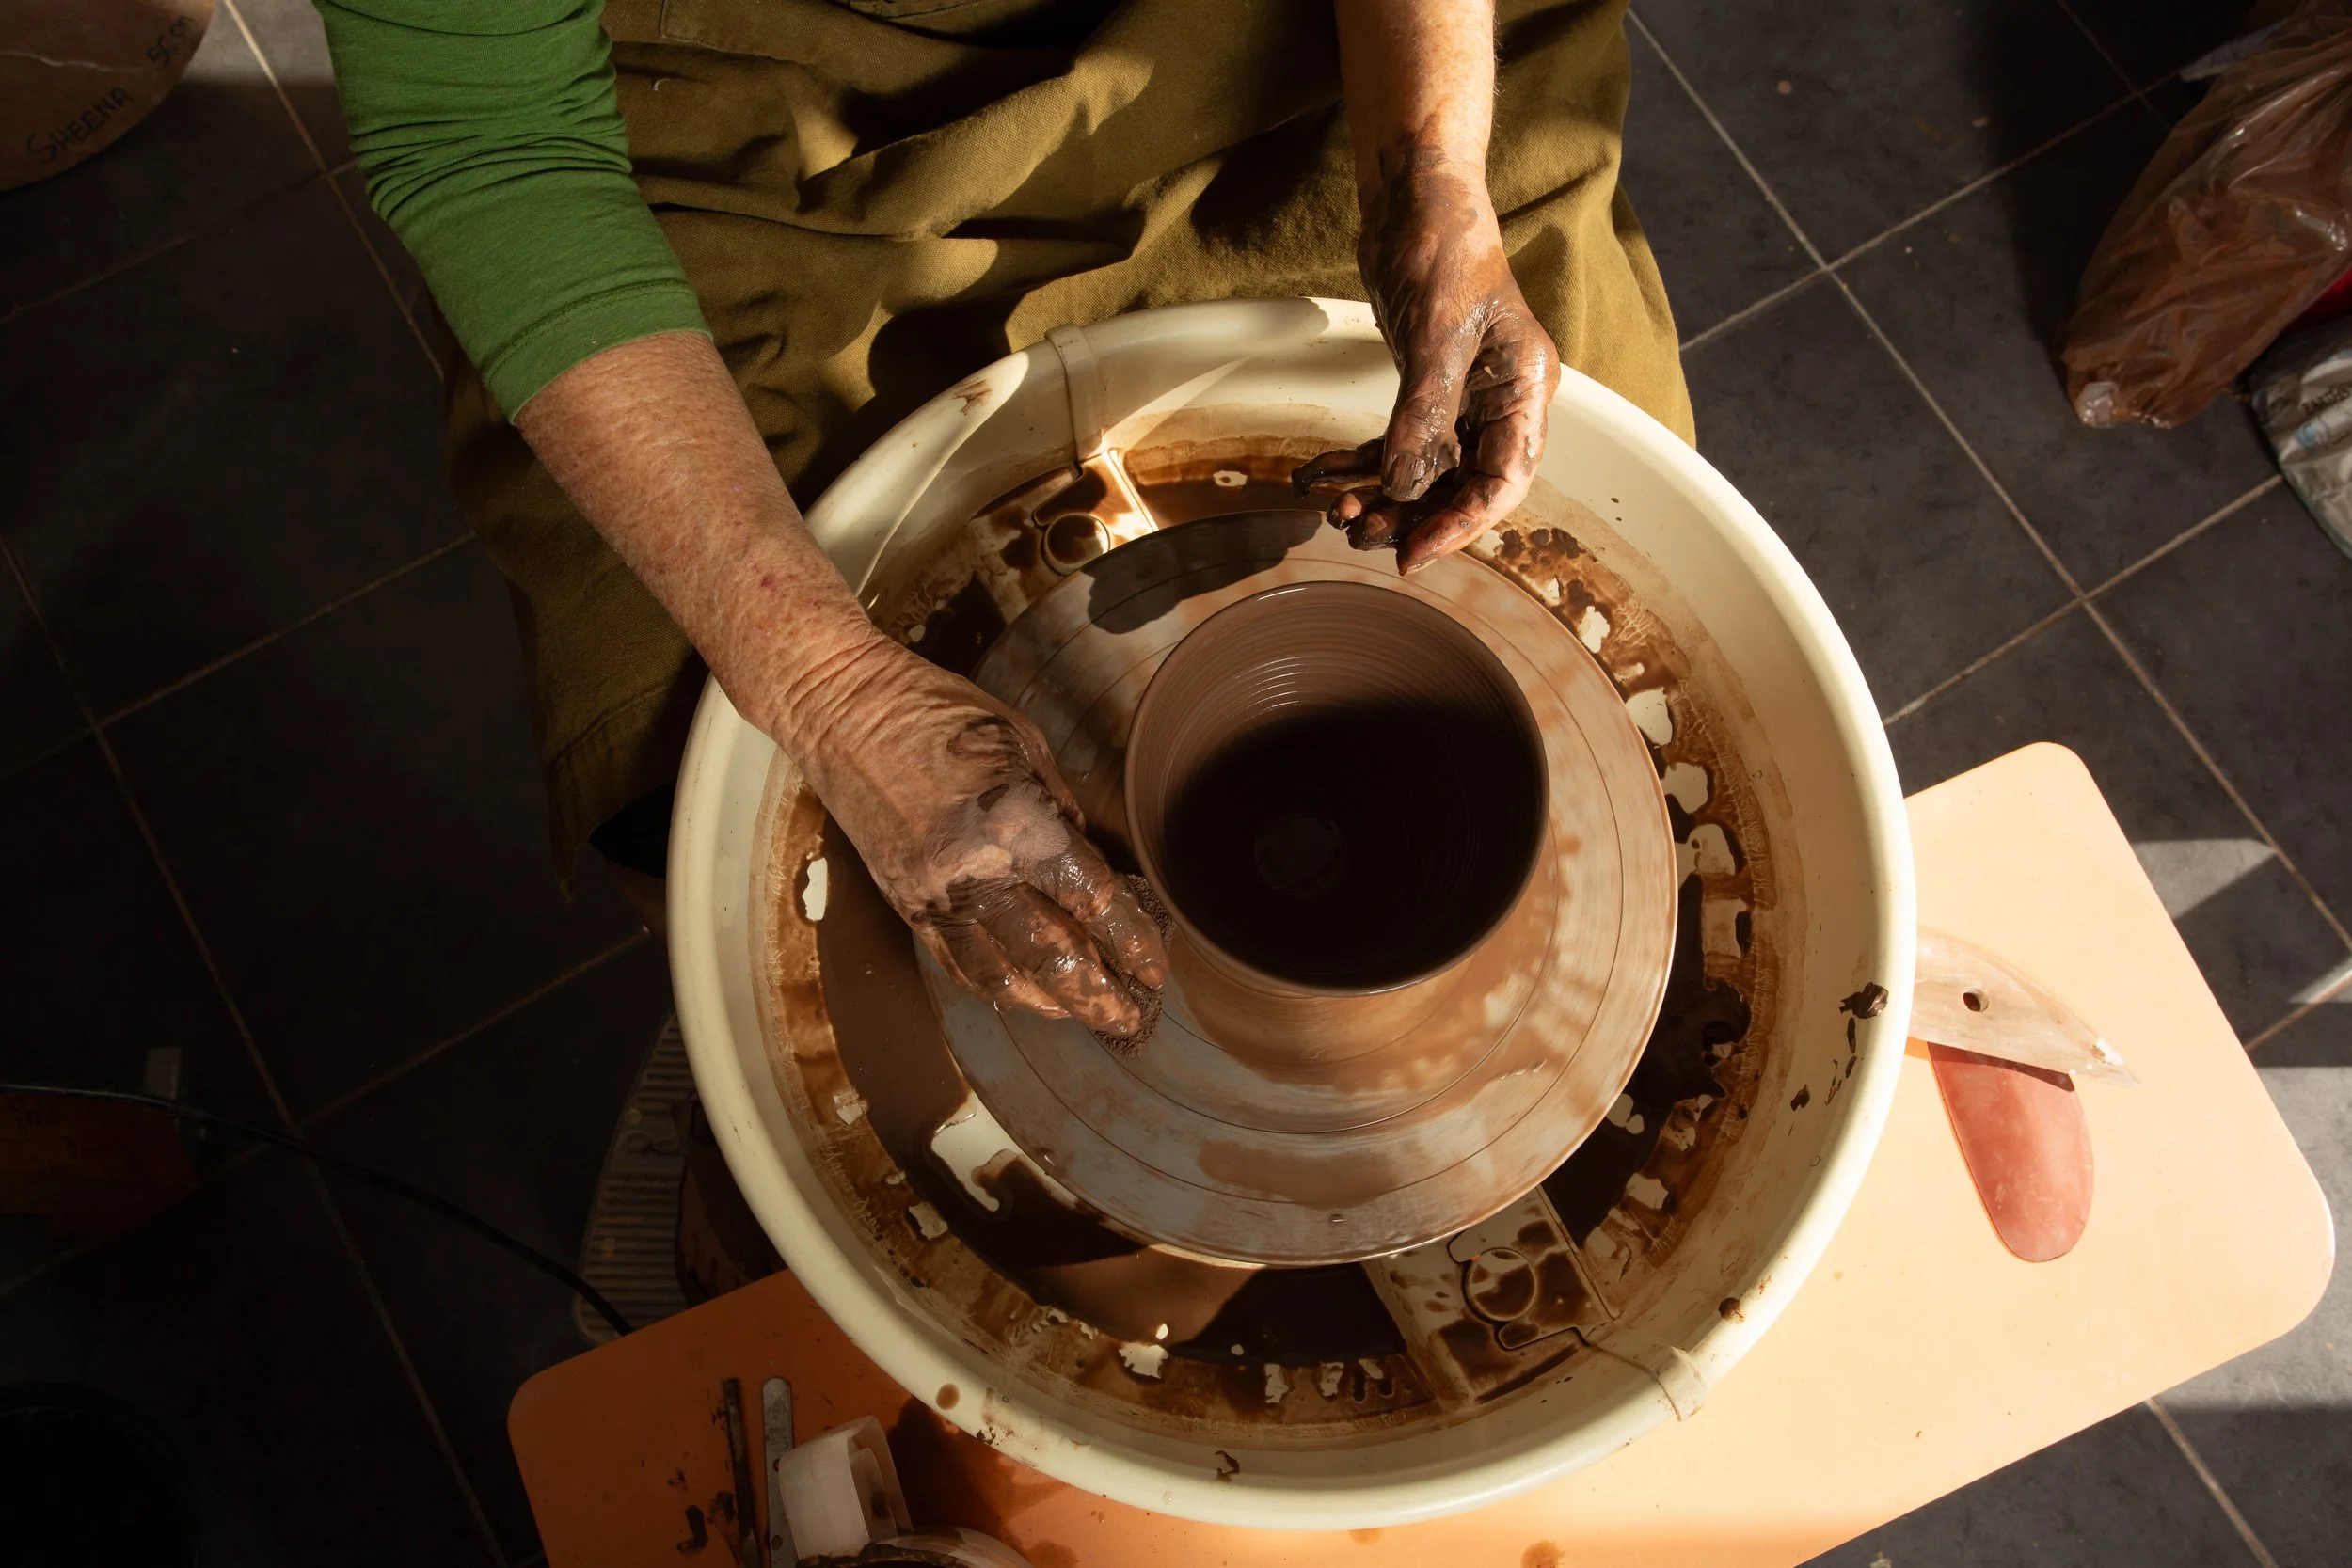
Taking one of the balls the next step is to centre the clay on the wheelhead. This is the fun bit. I explain how to position yourself, and how best to control the clay. As the clay becomes centred, you begin to ‘open it up’, which basically means making a depression in the top, pushing down and making a doughnut shape. This forms thick walls and a base.
From this stage you are guided through the various steps to making a bowl or cylinder shape. You have three balls of clay, so at any stage you can abandon one and start again, nothing lost.
Clay is fully recyclable so there is nothing wasted.
Choosing Your Finished Pieces
Once you have finished the piece, it is removed from the wheelhead and placed on a small square of wood to begin the drying process. At this stage you choose which two pieces you want to have finished and fired.
We clean up together and depending on time, I may do another demonstration for you.
What Happens After Your Pottery Lesson?
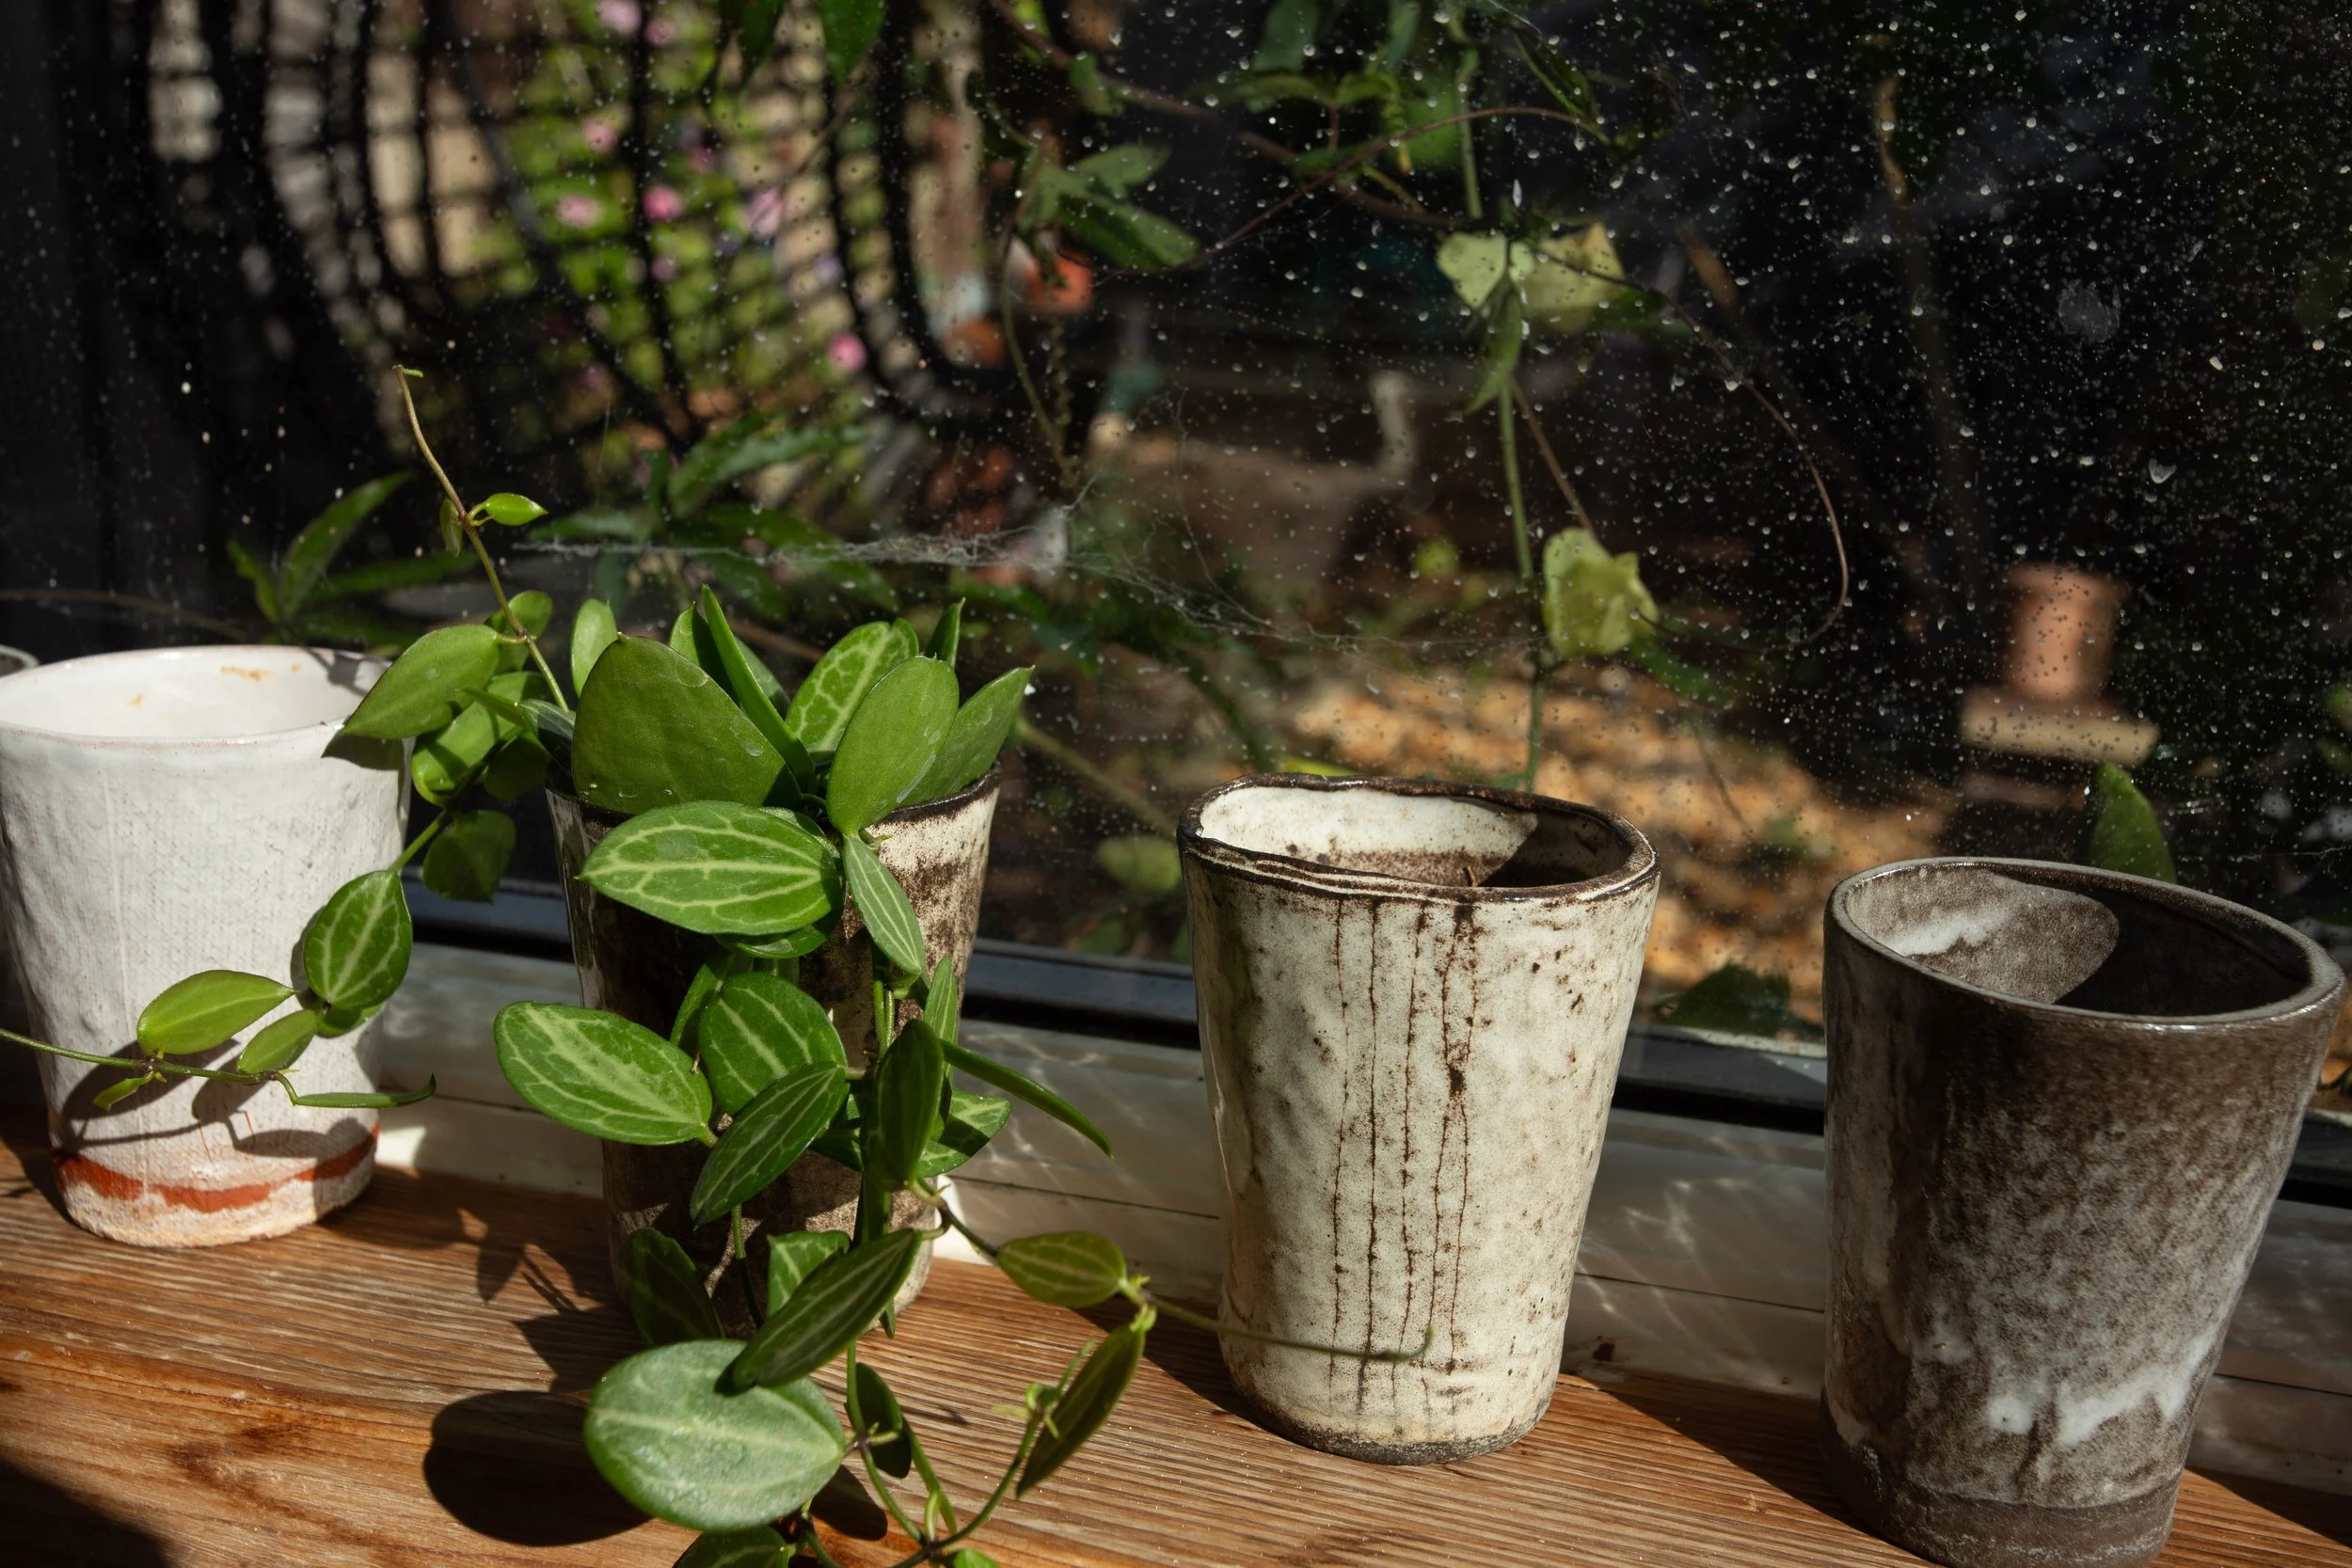
Your pieces will be ready for collection in a few weeks’ time. If possible we will make arrangements on the day.
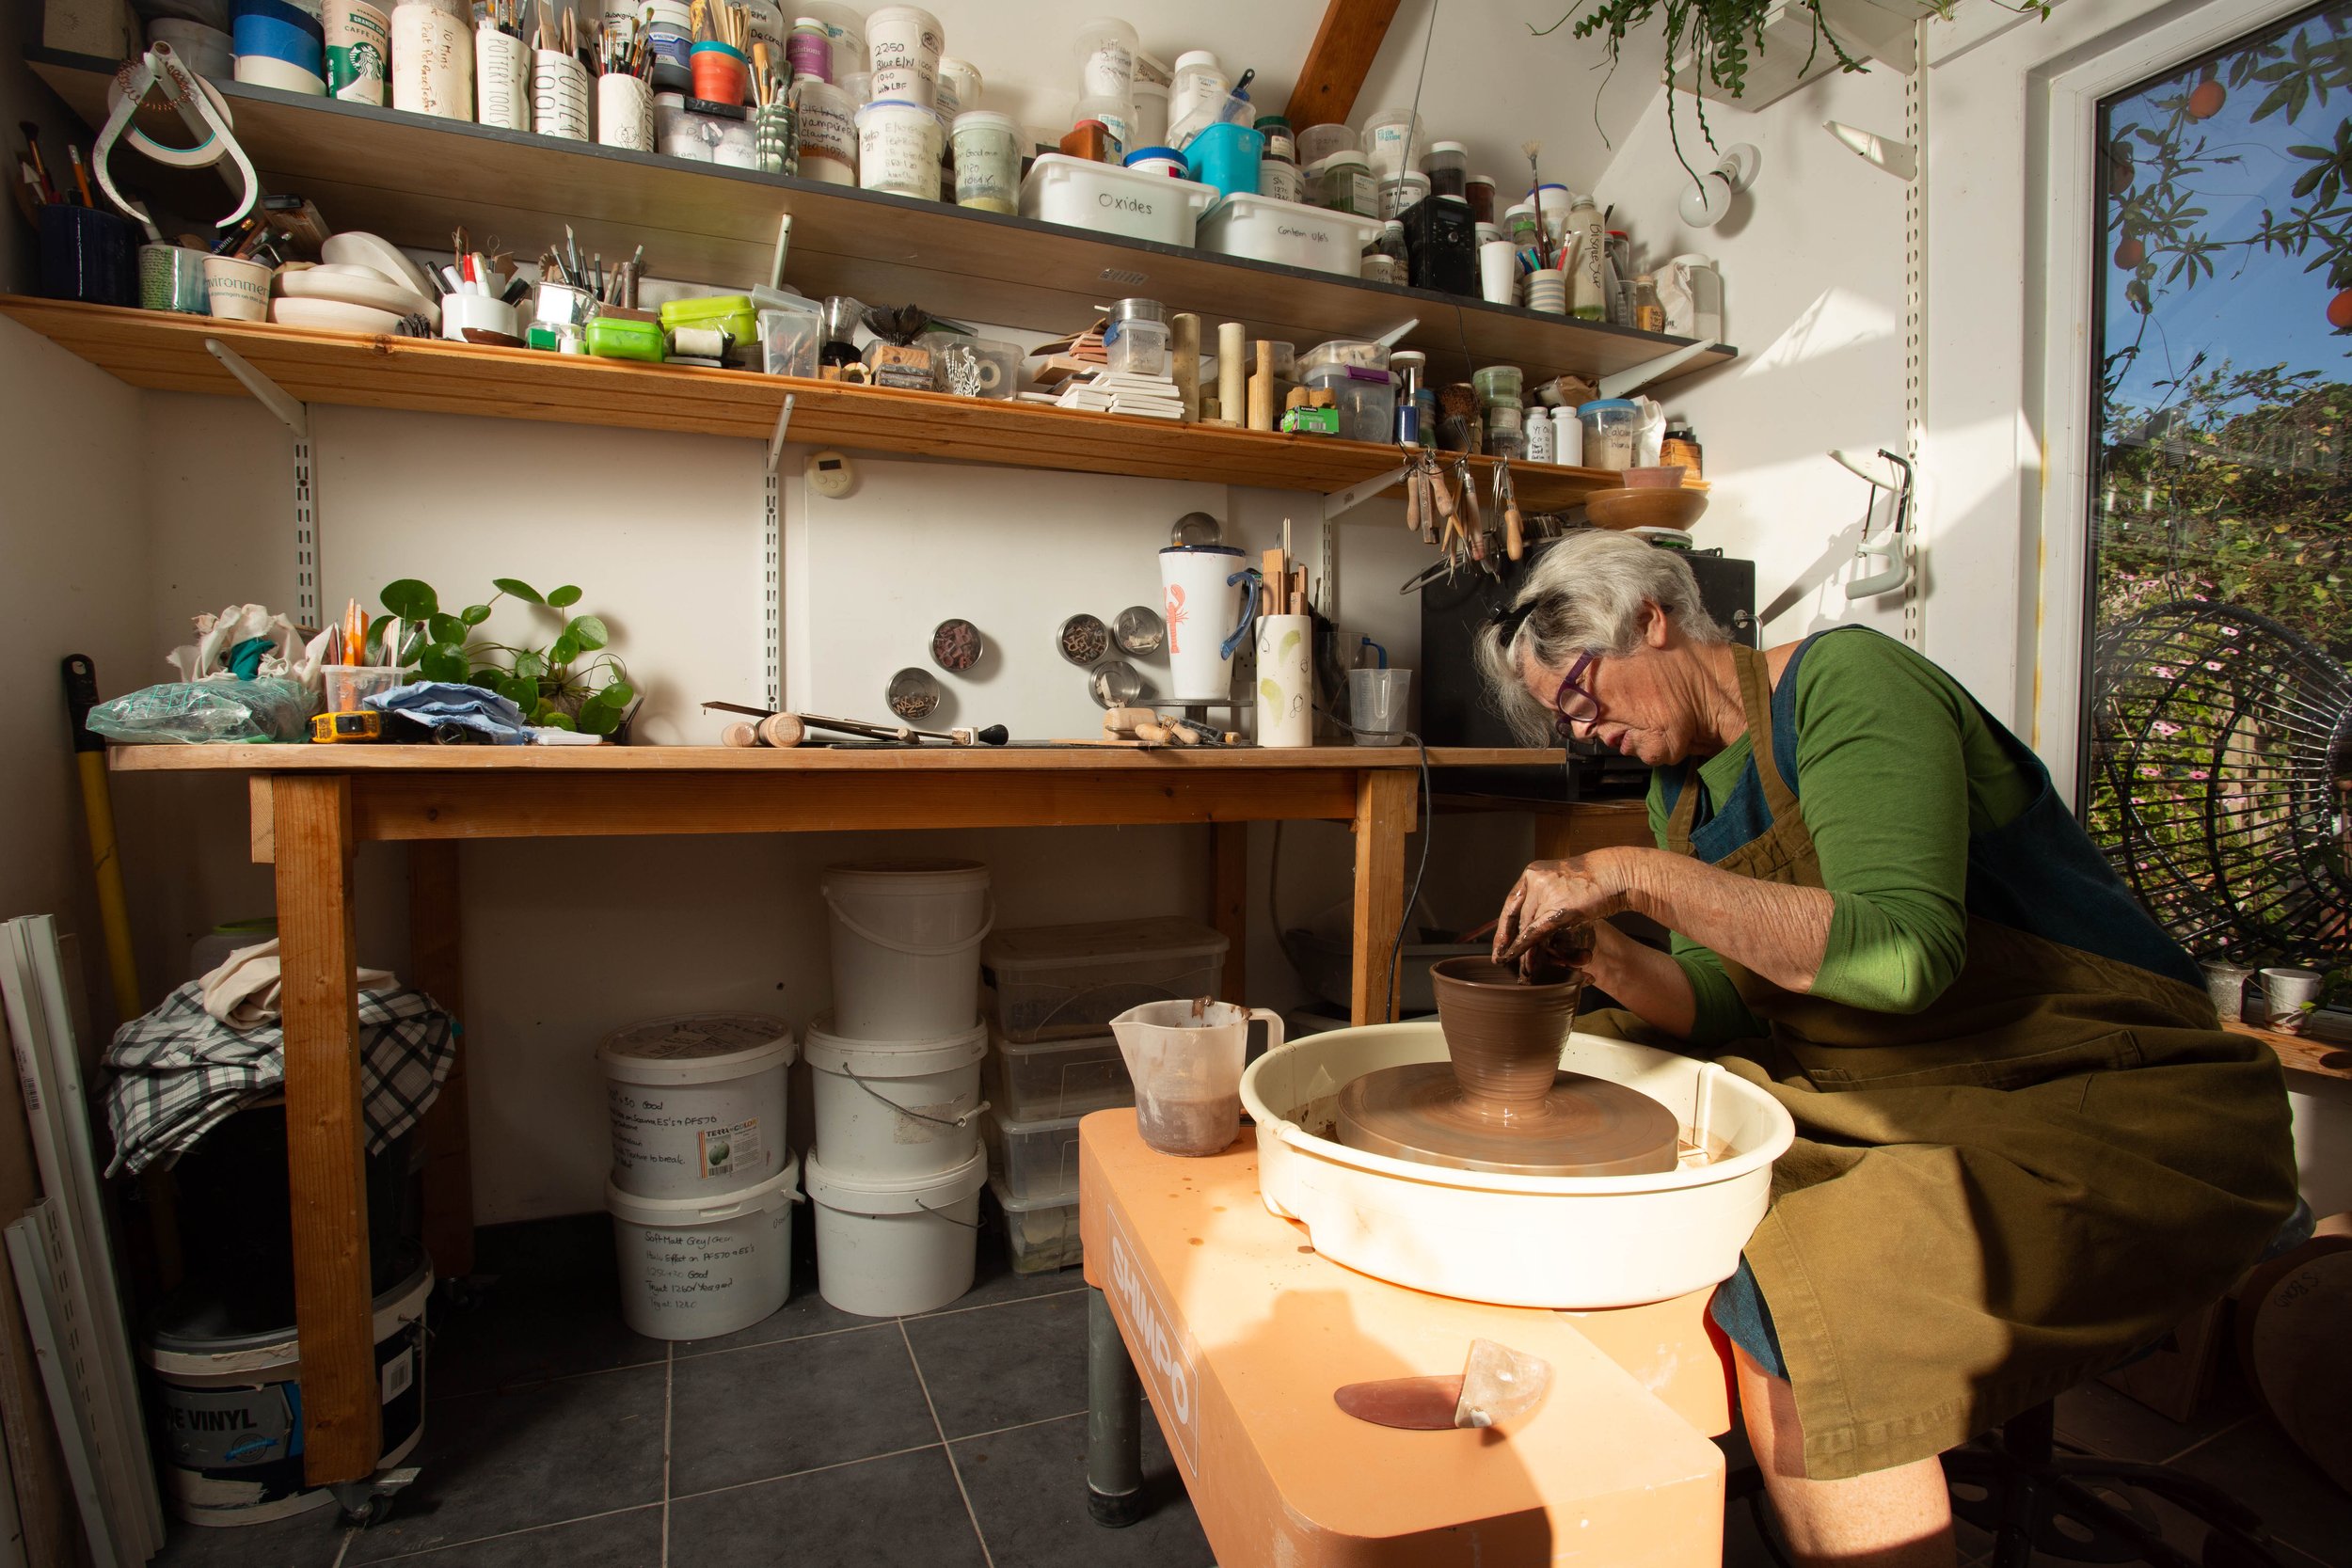
The studio has recently been extended to include a designated kiln and drying area, making the working area more spacious. Light and sunny, it benefits from a Velux window in the pitched roof.
Many of the plants are growing in pots I’ve made over the years often having taken cuttings of mature plants that have been in our family for generations. I have one particular Lily in my garden that my Gran had in her garden, gave to my Mum and subsequently to me. It’s due for sub-dividing soon and will be on its way to my daughter for the next generation to enjoy.
-
A pottery throwing lesson starts with getting to know the clay, preparing it and learning how to centre it on the wheel. You’ll then be guided through the process of opening and shaping the clay into a bowl or cylinder.
-
No. My pottery throwing sessions are suitable for beginners as well as people who already have some experience with clay. You’ll be guided through each stage at your own pace.
-
Initially you will produce probably three pieces, from which you will have the opportunity to choose two which will be fired and finished for you.

Saturday 14th November 1-4 pm
Pottery workshop making Christmas decorations using porcelain clay at Jo Morley Studio in Southampton on the 14th November. Decorations will be available to collect from Jo’s studio 2 weeks later. Suitable for beginners and those with some experience. Making up to 10 decorations each.
Bring your own apron.
All materials and firing included.
Jo Morley Studio, 4B, Kemps Quay, Southampton SO18 1BZ
5 min walk from Bitterne Station